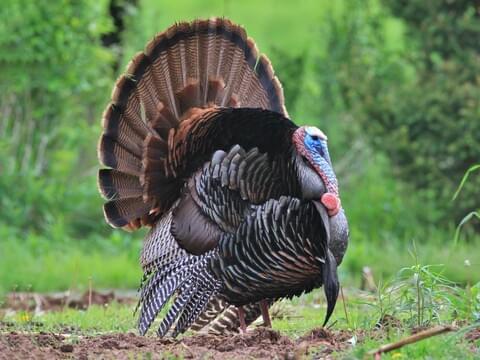
Thanksgiving is coming up! And that means one thing - it’s time to get your big birds all prepped for the celebration!
If you’re planning to save some bucks next year and just raise your own free-range, all-natural or even organic Thanksgiving turkey, you’ve come to the right page.
So, how exactly do you raise your own Thanksgiving turkey so you get to enjoy one, plump roast? No worries. Whether you’re new to raising turkeys or have done this a few times, we’ve got you!
In this article, we’ll walk you through the different stages of turkey-raising, and how to make sure you, and your birds, go through each stage right.
Phase 1: Planning
As with everything else in life, you need to make sure that you start with a solid plan. Turkeys take about 15-17 weeks to reach full weight, so for a Thanksgiving bird, you need to start your poults in mid-July to early August. If you want to have your turkey custom butchered, make sure you plan ahead and call early for your butcher date! We recommend scheduling as soon as you get your birds.
Next, your plan should include the kind of diet you’re going to feed your turkeys. For starters, turkeys need a higher level of protein in their diet, so you want to make sure that your birds get all the protein they need by choosing the right kind of feed for them.
Kalmbach Turkey feed is one of the trusted brands out there for you to consider, and if you’re in the Coburn area, you can definitely drop by our store and grab a bag.
We recommend their 28% Start Right® Turkey and 20% Finish Right® Medicated feeds for prevention of coccidiosis. Each bag contains LifeGuard®, a proprietary blend of prebiotics, probiotics, essential oils, and enzymes that support digestive, immune and health function.
Don’t forget within your planning stage, that it’s also important to consider where you’re going to house your birds and that you have all the supplies you need so you can raise them in a healthy and sustainable environment.
Phase 2: Brooding Stage
For this stage, you would need to have a brooder for your birds. It’s particularly important that you use a heat lamp for your turkeys at this point.
Since turkeys can be delicate animals, having them drink water infused with minced garlic, a bit of apple cider vinegar, and some honey, is a great way to keep them healthy by providing them with vitamins and minerals. You also need to regularly check that their water is clean to prevent diseases.
Other than having them eat store bought feed, you also want to add some fresh greens to their diet, and provide them with small grit (rocks) in a bowl. Turkeys need to eat gravel and small stones to aid in their digestion of hard food items.
Phase 3: Transitioning
Once they’re around six weeks of age, it’s time for you to gradually transition them to grass. To do this, you can transfer them to a floorless cage, and move the location of the cage to a grassy spot. You can also do away with the heat lamp at night at this point in your turkey-raising journey.
Phase 4: Growing to maturity
When your birds are reaching maturity, you can transfer them to a more airy coop. Make sure the coop is safe from aerial predators though! If you’re not careful, they can be an easy snack for birds of prey, so double-check that they’re placed in an enclosure that cannot be accessed by such creatures.
To give you an estimate on how much turkey feed to buy for your birds, 10 turkeys would need approximately 15 bags of feed, give or take.
Martin’s Feed Mill has the supplies you need for all of your poultry needs. Whether you’re raising chickens or turkeys or any other one of our feathered friends, stop by our store to check out our wide array of feeds, feeders, bedding and more.
